
 EN
 AR
 CS
 NL
 FR
 DE
 IT
 JA
 KO
 PL
 PT
 RU
 ES
 UK
 TH
 TR

Handheld Laser Welder Operation & Maintenance Guide
Handheld laser welders are widely adopted for metal fabrication, capable of precision welding on carbon steel, stainless steel, aluminum, copper and other metals. Easy operation does not mean careless use. Standard operation, safety protection and regular maintenance are essential to stabilize welding quality and extend laser source service life.
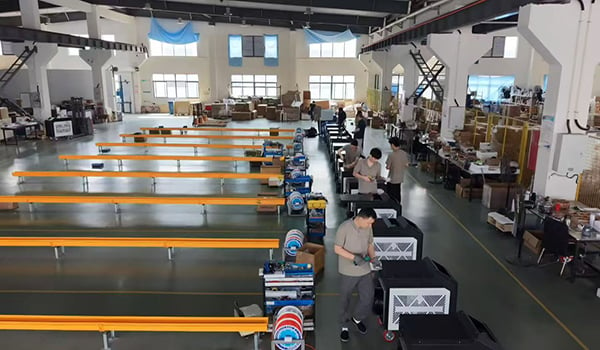
1. Pre-Welding Inspection
Check items before every shift:
- Power cable and connector: no damage, loose connection or overheating. Ensure reliable grounding.
- Chiller system: normal water circulation, no leakage or blockage, proper water level. Overheating is the top cause of laser source damage.
- Gas circuit: tight argon connections, no air leakage, stable regulator pressure. Poor shielding gas leads to pores and oxidation.
- Welding torch & optics: clean protective lens free of scratches, spatter and oil; smooth wire feeding.
- Work area: remove oil, metal chips and flammable materials.
2. Standard Start-Up Sequence
- Switch on the main power supply.
- Start the water chiller first and wait until the temperature reaches the working range.
- Power on the laser generator and wait for self-check completion.
- Open the argon valve and adjust gas flow according to material and thickness.
- Set process parameters (laser power, speed, wire feed rate).
- Test on scrap sample before mass production.
3. Operation & Safety Rules
- Only trained personnel are allowed to operate the machine. Keep unauthorized persons away.
- Wear laser-specific safety goggles at all times. Ordinary welding masks cannot block laser radiation, which may cause irreversible eye injury.
- Wear flame-resistant protective clothing and gloves to avoid burns from direct laser beam or diffuse reflection.
- Do not remove optical safety covers. Keep laser enclosure intact and use shielding at work station.
- Stop operation immediately if abnormal noise, water leakage, gas leakage or abnormal light occurs. Fire extinguishers must be available on site.
4. Shut-Down Steps
- Stop laser output.
- Close the gas cylinder valve and release residual pressure in pipes.
- Shut down laser host. Let the chiller run for another 5–10 minutes for cooling, then turn off the chiller.
- Cut off main power.
- Clean torch nozzle, protective lens and workbench.
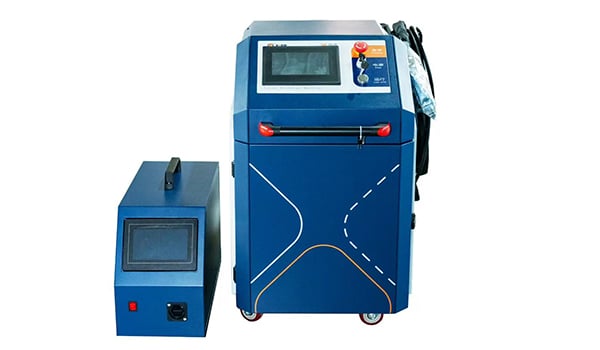
5. Maintenance Schedule
✅ Daily (End of each shift) Clean lens and nozzle from spatter; check water and gas leakage; tidy cables. Replace scratched or burnt protective lenses promptly.
✅ Weekly Check coolant clarity and water level; clean wire feeder; tighten gas and electric connectors.
✅ Monthly / Quarterly Replace cooling water and chiller filter element. Use deionized water or purified water, tap water is forbidden. Clean cooling fan filter; inspect grounding and safety interlock.
✅ Long-Term Storage (Over 1 week) Drain cooling water to avoid pipe cracking; release gas pressure; remove leftover wire; power off fully and cover with dustproof cover. Store in dry, dust-free and constant-temperature environment.
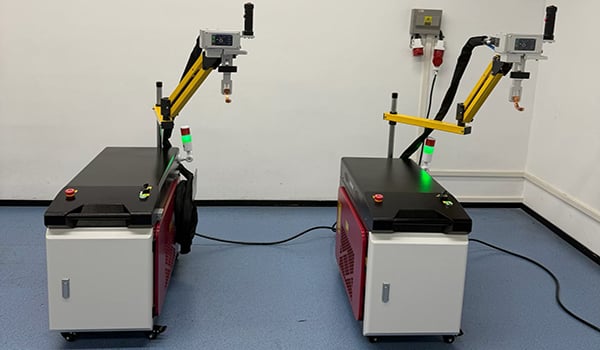
6. Common Troubleshooting Tips
- Black welds / pores: check argon leakage, gas flow or dirty lens.
- Insufficient penetration: check overheating or damaged protective lens.
- Wire feeding jam: clean wire feeder and check bent feeding tube.
- Frequent alarm: mostly caused by abnormal water flow or high temperature.
Final Note
A handheld laser welder is high-precision optical equipment. Consistent operation standards and routine maintenance reduce breakdowns and guarantee stable weld quality. ⚠️ Do NOT disassemble laser source and internal optics by yourself. Contact DMK Laser technical support for professional service.